
Tomcat is an open-source software that enables you to let your computer machine turned into a hosting platform for your application. Essentially it allows you to serve your web pages to the users either remotely or locally .
Why do you care about WebServer ?
Ever wonder how your browser requests are handled? What about if a single application had to serve thousands of users at the same time across 24×7?
Gladly, we have systems and applications to deal with our above problems while we continue to focus on our work and business. It is these systems that are referred to as webservers, which serve responses (webpages) in response to your requests.
Lets cover up one such webserver that we can quickly configure for hosting our WebSpeed Applications – Tomcat. (Documentation – Apache Tomcat® – Welcome!)
OpenEdge Version – 11.7
Download Tomcat – Progress installation would by default install Tomcat for us .
Quick Check if Tomcat is default installed.
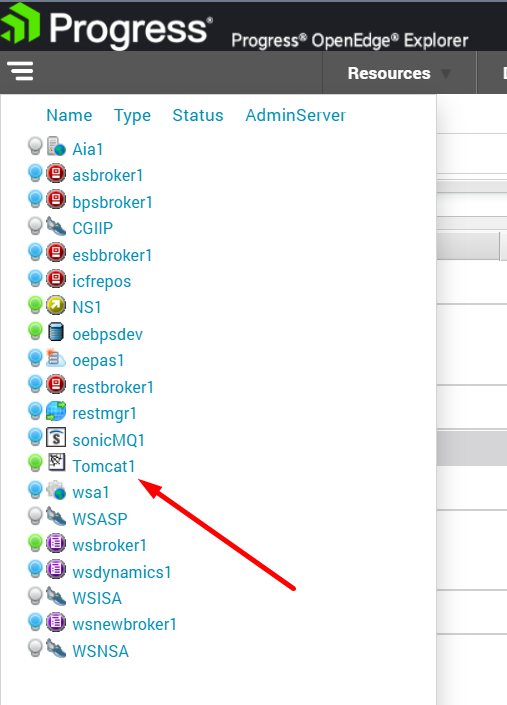
OEM – Check the availability of Tomcat instance in OEM to ensure that we have Tomcat installed. Click on Resource Tab . See below –
Goto catalina.out file and see the various configured parameters of Tomcat instance
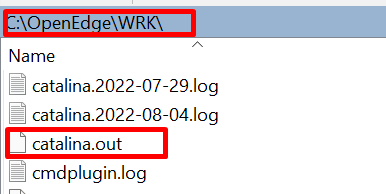
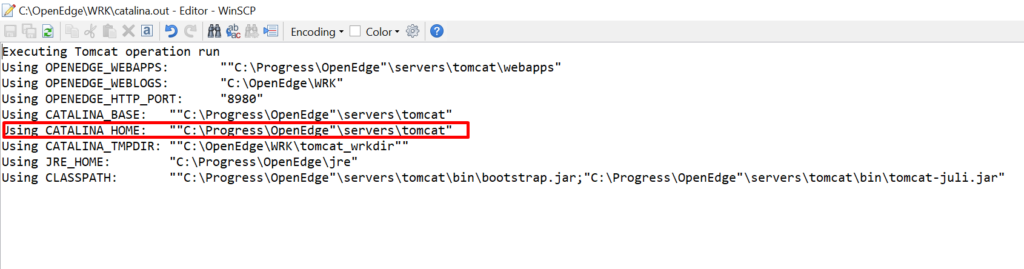
Move to CATALINA_HOME .
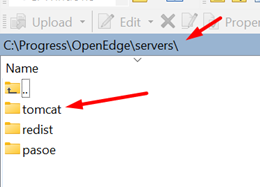
Now as we verified that tomcat is installed , lets move to quick configuration for webspeed hosting.
Configuration
- Go to the %CATALINA_HOME%\ conf\Catalina\localhost
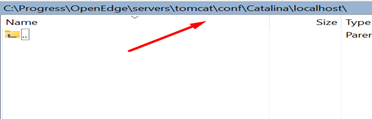
2- Within localhost folder create a file webspeed.xml with the following content:
<Context privileged=”true” />
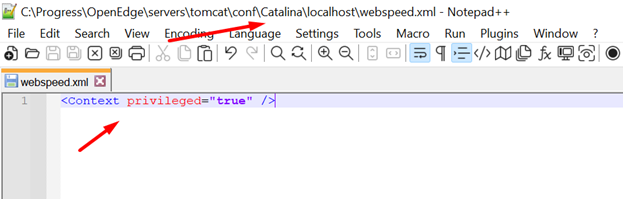
Save the file .

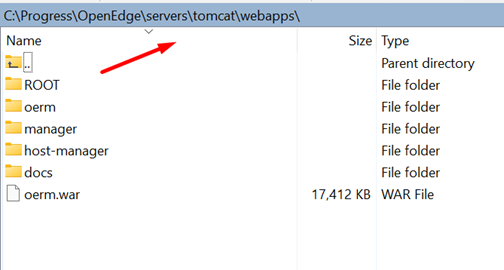
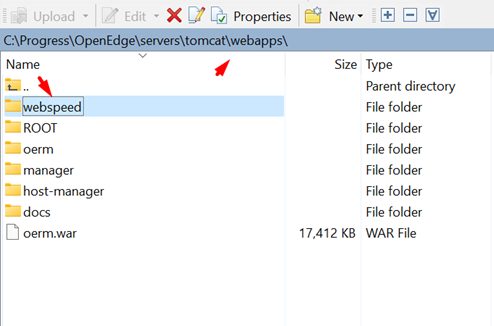
3- Now let’s go to the web apps subfolder under tomcat directory(CATALINA_HOME). If you do not have web apps folder already available you can create a new one.
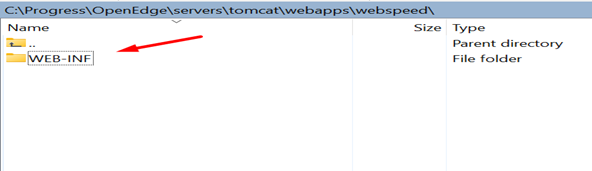
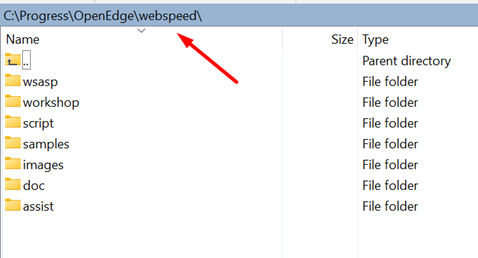
6- Copy the contents of %DLC%\webspeed into CATALINA_HOME%\webapps\webspeed\WEB-INF
Our DLC is C:\Progress\OpenEdge so let’s copy the content form WebSpeed folder of DLC and paste all of it into newly created WEB-INF inside CATALINA_HOME%\webapps\webspeed\WEB-INF.
Copy Below

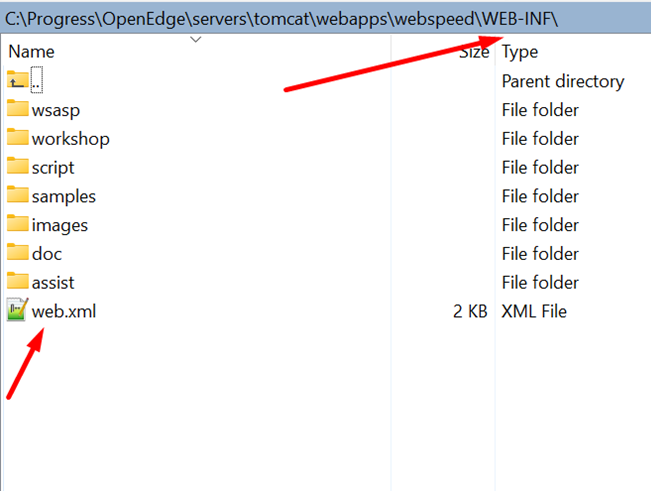
7 – Create within %CATALINA_HOME%\webapps\webspeed\WEB-INF a file named web.xml with the following content:
<?xml version="1.0" encoding="ISO-8859-1"?>
<web-app xmlns="http://java.sun.com/xml/ns/javaee"
   xmlns:xsi="http://www.w3.org/2001/XMLSchema-instance"
   xsi:schemaLocation="http://java.sun.com/xml/ns/javaee http://java.sun.com/xml/ns/javaee/web-app_2_5.xsd"
   version="2.5">

     <servlet>
        <servlet-name>cgi</servlet-name>
        <servlet-class>org.apache.catalina.servlets.CGIServlet</servlet-class>
        <init-param>
          <param-name>debug</param-name>
          <param-value>0</param-value>
        </init-param>
        <init-param>
          <param-name>cgiPathPrefix</param-name>
          <param-value>WEB-INF/cgi</param-value>
        </init-param>
        <init-param>
          <param-name>executable</param-name>
          <param-value></param-value>
        </init-param>
        <init-param>
          <param-name>passShellEnvironment</param-name>
          <param-value>true</param-value>
        </init-param>
        <load-on-startup>4</load-on-startup>
    </servlet>

    <servlet-mapping>
        <servlet-name>cgi</servlet-name>
        <url-pattern>/cgi/*</url-pattern>
    </servlet-mapping>
</web-app>
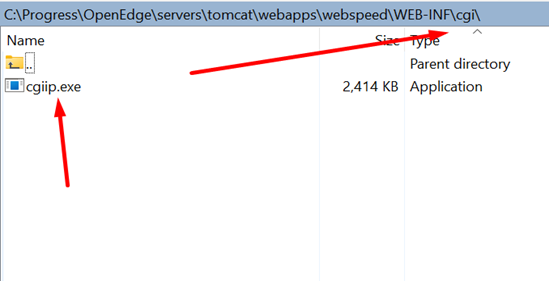
8 – Within %CATALINA_HOME%\webapps\webspeed\WEB-INF create a folder named cgi
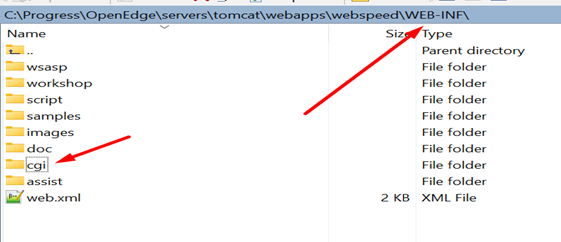
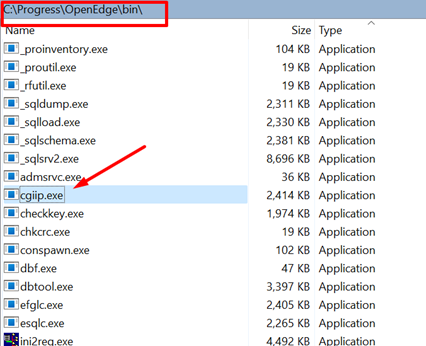
Copy %DLC%\bin\cgiip.exe into the %CATALINA_HOME%\webapps\webspeed\WEB-INF\cgi folder.
That’s ALL. We are done . Sigh of relief. 😊
Test the TOMCAT
Start the Tomcat instance using OEM and note the port .
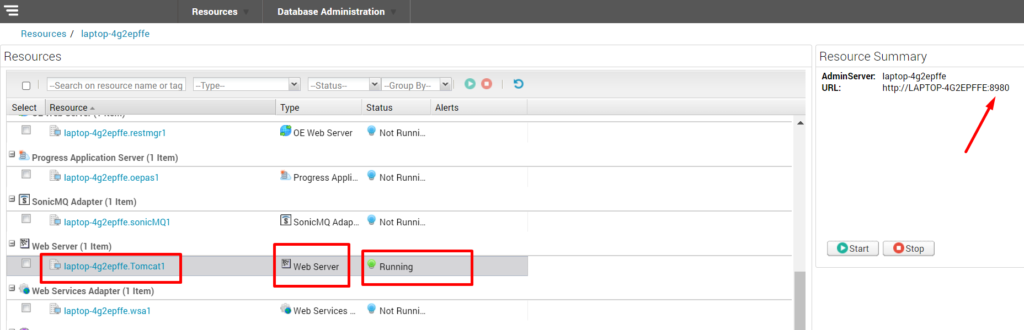
Run the url as shown below . Our Tomcat is currently running on port 8980.
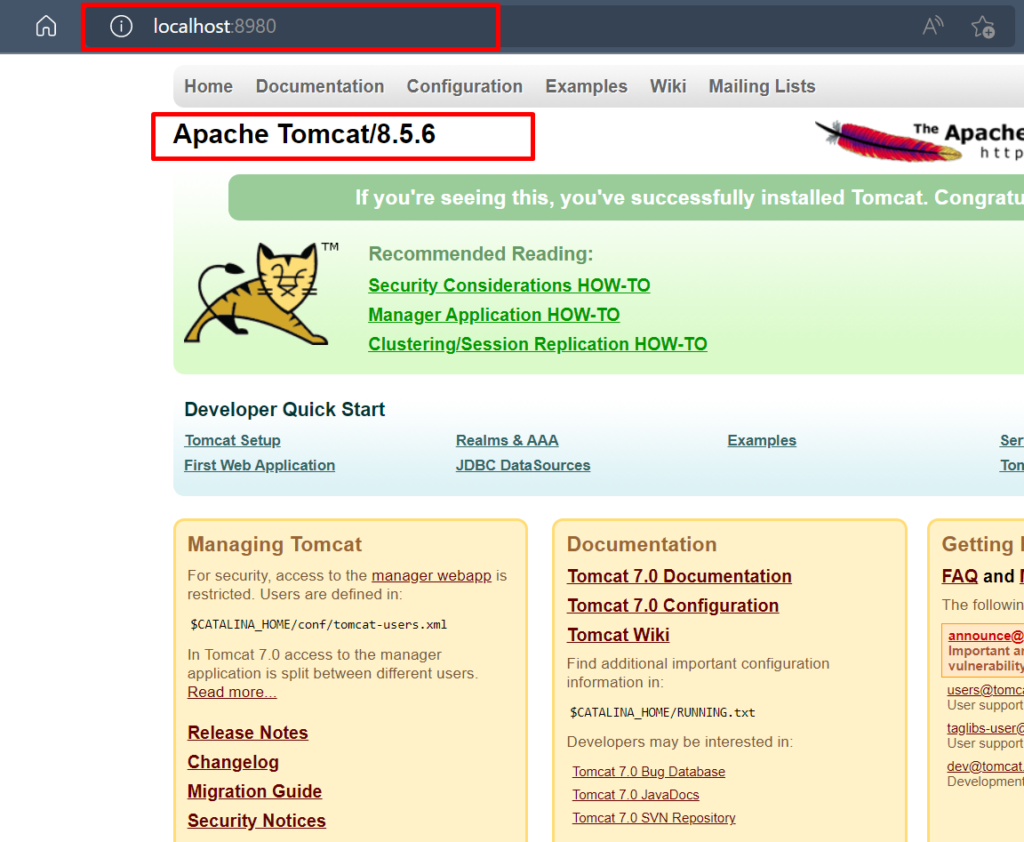
As we can see above – we have our Tomcat running . & have been configured .
Test if Messenger listening to Webserver ?
Our Messenger cgiip.exe must be listening to request coming from Tomcat server on port 8980 in order to validate that our configurations are correctly tied up .
Please use below URL as shown in image to test the same . I have also added the text in image to help you all understand the URL.
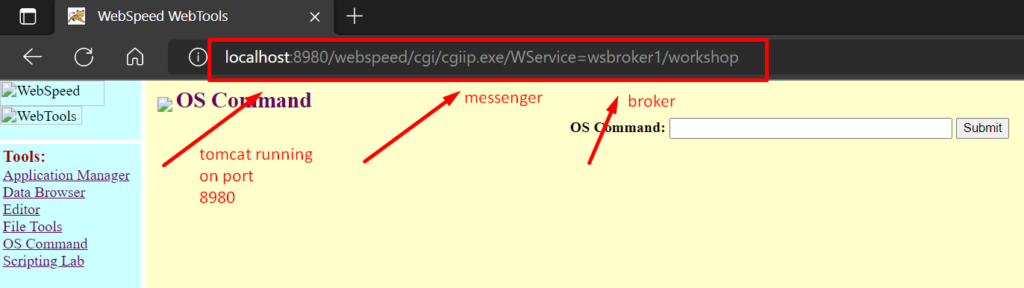
When running the URL above, we should be able to launch the Webspeed Workshop.
Thankyou All for reading it !!!
Catch you all soon with another interesting post . !!!
You are welcome to share this with others in your community, and also feel free to add your valuable comments here.